1 DIY Cheap Trick To Pull Out Your Automotive Dents
Posted on: 5 November 2014
Automotive dents can happen at any time. From shopping carts and car doors, to soccer balls and accidents, dents are just about inevitable. Dents can be annoying, expensive to fix, and are downright embarrassing. It's almost as if you're driving around town with a giant sign on your car that simply says ''Look at me! I'm hideous!" The unsightly stares of judgment are the worst.
However, if you're stuck with an unsightly dent, there is some good news. There are methods of removing your dent yourself without having to pay costly auto body repair bills. This article will guide you through one cheap DIY trick to repair those annoying dents.
The Dowel & Glue Gun Method
Now, if you're currently stuck with a rather large dent (18'' in diameter larger) then the dowel method will suit you best. If you don't already have the items listed below, then this method will involve a quick trip to the hardware store to pick up some basic supplies for the task.
Items you will need:
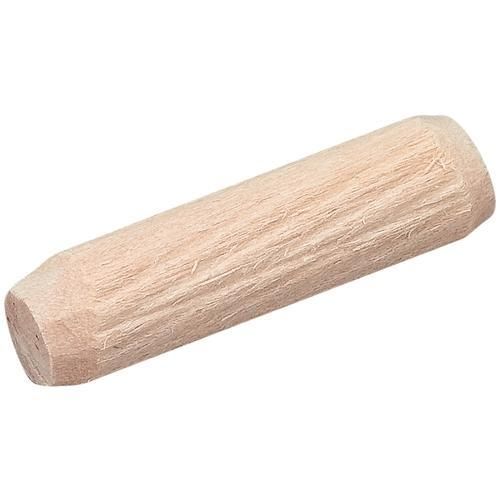
- Wooden dowels about 3-4'' in length and 1-2'' in diameter
- Case of wood screws
- Screw driver
- Hot glue gun with glue
Removing the dent:
- Drill 2 holes in each side of the dowel, about 4/5 the way up. Insert the screws into each hole. This will act as your finger grips.
- Prepare the dented area. Using soap and water, thoroughly clean the dent and surrounding area. Allow sufficient time for the surface to fully dry.
- Using your hot-glue gun, apply a generous amount of glue to the long end (opposite the side of your grips) of the dowel.
- Begin placing each dowel directly around the dented area. Do not place the dowels in the dent itself, but around the area. The hot-glue end can go directly on the paint, and the opposite end should have your finger grips (screws).
- Allow the dowels to fully cool (30 minutes should suffice) and carefully begin pulling on each one. Do not yank the dowel. Use a systematic approach to which dowels you pull. Choosing opposite dowels along the dented region yields the best results. Start with the top-left, and then bottom-right. Then top-right, and bottom-left.
- Repeat until the dent has been fixed. It may take a few iterations of steps 1-5 before the dent is fully resolved. Each time, however, the dented region should shrink.
- Remove the dry glue and polish the now fixed region.
Dealing with a dented panel can be an embarrassing nightmare, but it doesn't have to be expensive. Luckily, like the dowel and glue gun method, there are a few DIY tricks available that hardly cost a thing. So, if you're dealing with a dent, try the method above. Just remember to go slow, and repeat the process if necessary. If this method doesn't work, at least you can say you attempted to exhaust every cheap trick first. Contact a company like Superior Paint & Body Service Ltd for more information.
Share